Tile roofs are a popular choice for many Gloucester, MA homeowners due to their durability and ability to withstand harsh weather conditions. However, like any other type of roof, they are susceptible to damage and require repair occasionally. If you’re wondering how to repair a tile roof, you’ve come to the right place. In this guide, we’ll cover everything you need about roof repair in Gloucester, MA, including tips on finding the best roofing contractor and steps to take for DIY roof repairs in Gloucester, MA.
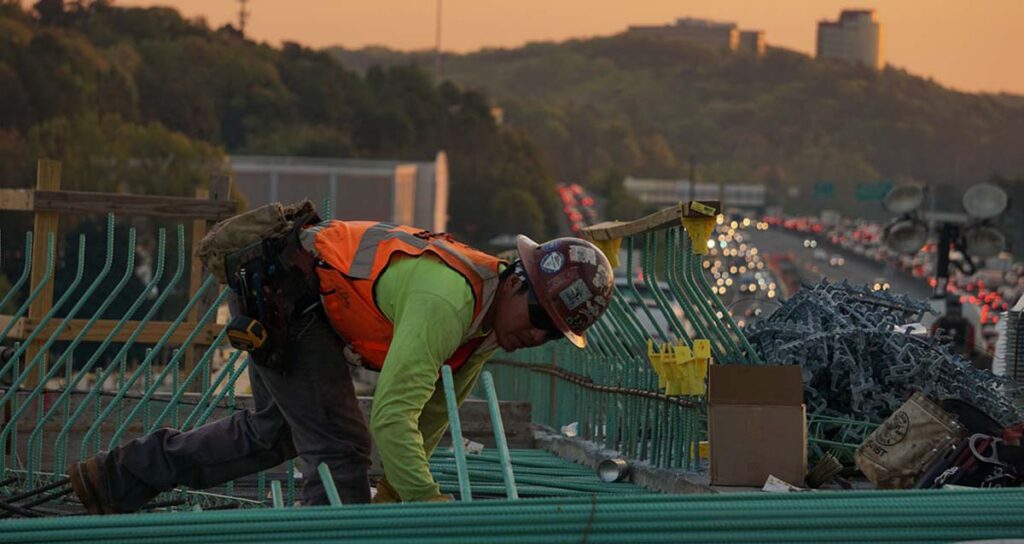
DIY vs. Professional Repair
When repairing your tile roof, you have two options: DIY or professional roof repair in Gloucester, MA. If the damages aren’t that complicated, like a few cracked tiles or lose shingles, you can go ahead and fix it yourself. However, if the damage is extensive, it’s best to leave it to the professionals. Hiring a professional roofing contractor ensures that the repair is done correctly, and it can save you time and money in the long run.
Steps to Repair Your Tile Roof
Let’s go through the steps to repair your tile roof, whether you’re doing it yourself or with the help of a professional roofing contractor. It’s important to properly repair any damage to your tile roof to prevent further issues and ensure the longevity of your roof. By following these steps, you can ensure that your tile roof is repaired correctly and effectively.
Step 1: Gather Your Materials
Before you start roof repair in Gloucester, MA, gathering all the necessary tools and materials is essential. This includes replacement tiles, roofing cement, a trowel, and a ladder. It’s essential to make sure you have suitable materials for your specific type of tile roof.
Step 2: Remove the Damaged Tiles
The next step is to remove the damaged tiles carefully. This can be done using a flat bar or chisel. It’s important to be gentle and avoid damaging any surrounding tiles. If the damaged tiles are particularly stubborn, you may need to use a hammer and chisel to break them apart carefully.
Step 3: Replace the Tiles
Once the damaged tiles have been removed, it’s time to replace them with new ones. Use the same type of tile as the ones you removed to ensure a seamless roof repair in Gloucester, MA. Please insert the new tiles into place, and secure them with roofing cement. It’s essential to ensure the tiles are properly aligned and seated.
Step 4: Allow the Cement to Dry
After replacing the tiles, it’s essential to allow the roofing cement to dry completely before walking to the repaired area. Depending on the weather conditions, this can take anywhere from a few hours to a full day. Once the cement has dried, you can inspect the repair to ensure it’s secure and watertight.
Conclusion
Repairing your tile roof can seem daunting, but addressing any damage as soon as possible is essential to prevent further issues. Whether you take a DIY approach or hire a professional roofing contractor, following these tips will help ensure your tile roof is repaired properly. Remember, when it comes to roof repair in Gloucester, MA, trust the experts at Roofer of Gloucester to get the job done right!
Roofer of Gloucester
33 Maplewood Ave Unit 216, Gloucester, MA 01930
Phone: +19789938296